Table of Contents
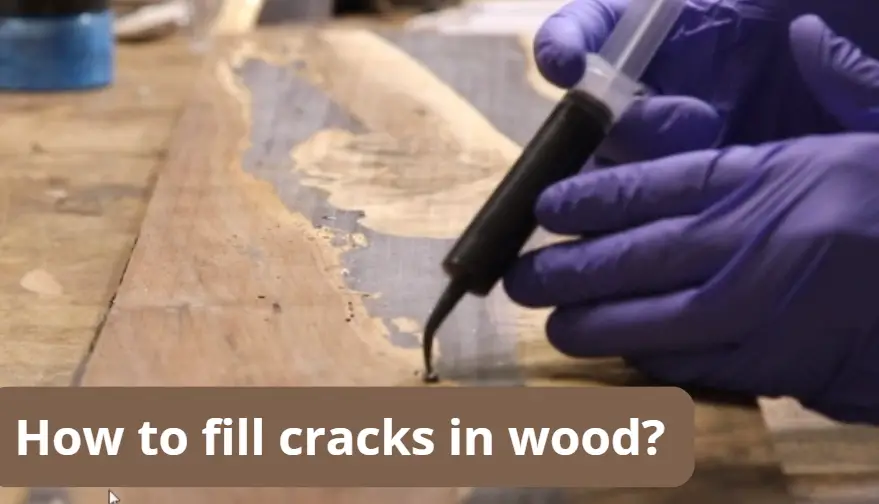
How to fill cracks in wood?
Step-by-Step Guide
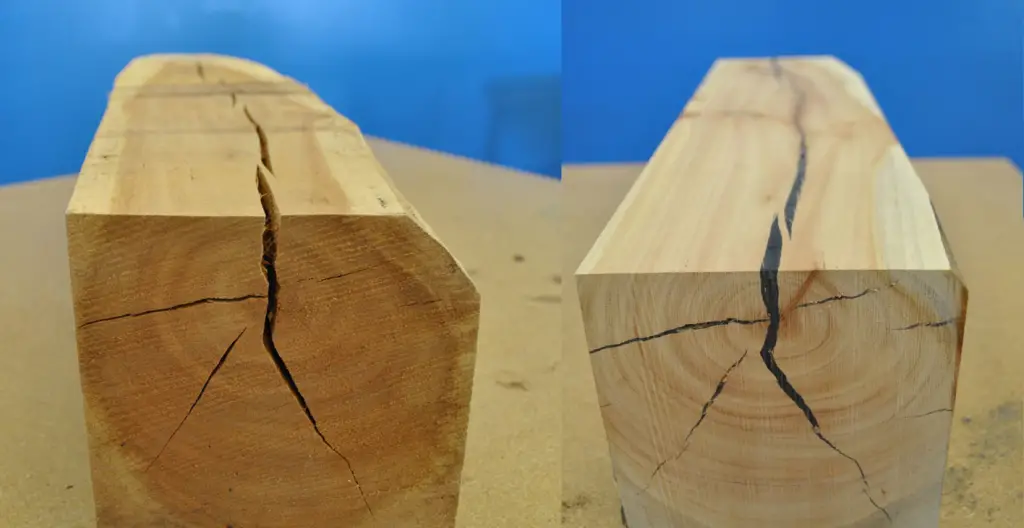
1. Assess the Crack
- Hairline cracks: Usually cosmetic.
- Medium cracks: May need filler or putty.
- Large/deep cracks: Often require epoxy, wood patch, or even replacement.
2. Prepare the Surface
- Clean the crack: Remove dust, dirt, or loose fibers with a brush or compressed air.
- Sand lightly: Roughen the surface around the crack so the filler adheres better.
3. Choose the Right Filler
- Wood filler/putty: Best for small to medium cracks, easy to sand and stain.
- Epoxy resin: Strong and durable, ideal for structural cracks or wide gaps.
- CA (super glue) + sawdust: Good for fine hairline cracks, quick and blends well.
- Wax sticks: Fast cosmetic fix, but not structural.
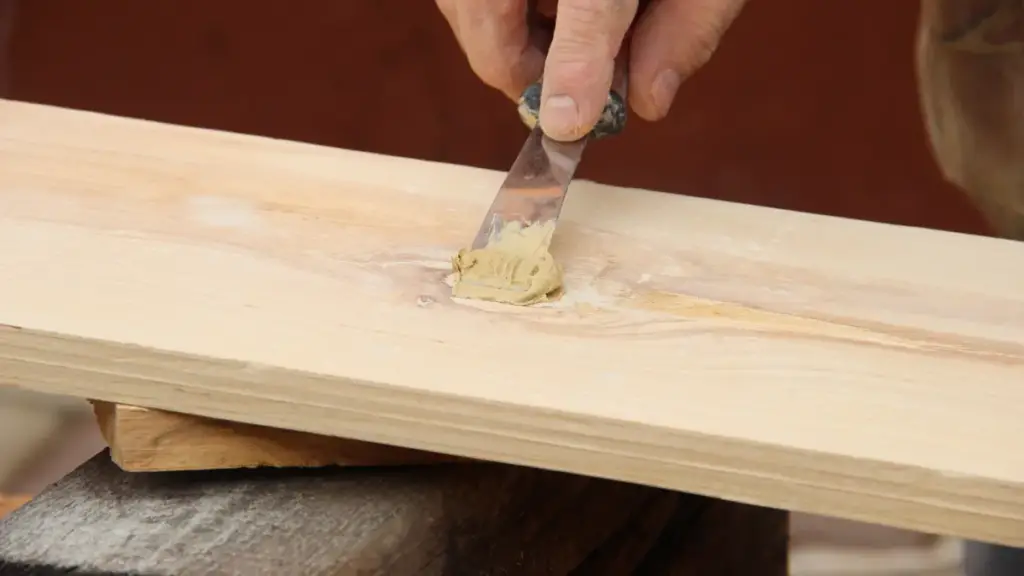
4. Application
- Fillers/Putty: Press into the crack with a putty knife, overfilling slightly.
- Epoxy: Mix resin + hardener, pour or inject into the crack, allow to cure fully.
- CA Glue + Sawdust: Sprinkle sawdust into the crack, drip CA glue, sand flush.
- Wax Stick: Rub into crack, smooth with cloth.
5. Finishing
- Let the filler cure completely (time varies by product).
- Sand smooth with fine-grit sandpaper.
- Stain, paint, or seal to match the surrounding wood.
Review of Methods
| Method | Pros | Cons | Best For |
|---|---|---|---|
| Wood Filler/Putty | Easy, sandable, paintable | Not always stainable perfectly | Furniture, small repairs |
| Epoxy Resin | Very strong, waterproof | Longer cure time, can look artificial | Structural cracks, outdoor wood |
| CA Glue + Sawdust | Fast, natural color blending | Brittle if overused | Small hairline cracks |
| Wax Stick | Quick, easy to apply | Not durable, only cosmetic | Scratches, light surface cracks |
Tips for Best Results
- Match the filler color to your wood (or use stainable filler).
- For large cracks, layer filler instead of packing it all at once.
- Always seal the repair with finish to prevent future cracking.
- If cracks keep appearing, check for humidity issues or structural stress.
READ ALSO: How to stop sap from coming out of wood?
Top Wood Crack Fillers in the U.S.
1. Minwax Stainable Wood Filler (Best Overall)
- Why It Stands Out: Approved by Bob Vila’s expert testing, this water-based filler spreads easily, shrinks minimally, and supports both indoor and outdoor use. It accepts stain beautifully and levels unrealistically smooth.
- Drawbacks: The coarse grain in the formula may make it tricky to fill tiny pores perfectly.
- Ideal For: Cosmetic and light structural repairs on furniture, trim, and floors.
2. DAP Plastic Wood All Purpose Filler (Best Value & Versatility)
- Highlights: Multi-surface filler that’s thick but easy to apply, odor-free, and resists shrinking and cracking. Available in several colors or natural finish.
- Limitations: Not fully weatherproof—best used indoors or in sheltered spaces.
- Ideal For: Affordable, everyday repairs across furniture, flooring, and cabinets.
3. Elmer’s Color-Change Carpenter’s Wood Filler (Beginner-Friendly)
- Why It’s Great: Goes on purple and dries to match wood—no guesswork. Smooth finish, low shrinkage, ideal for novices.
- Limitations: Only suitable for indoor repairs and slightly thick in texture.
- Ideal For: Beginners wanting foolproof, quick-fill results for indoor furniture.
4. FamoWood Latex Wood Filler (Premium Choice)
- Strengths: Combines latex with real wood fibers, cures harder than wood, dry in just 15 minutes, and works indoors and out.
- Drawbacks: Can be harder to open initially; slight cost premium.
- Ideal For: Quick, high-quality repairs for both indoor and outdoor wood surfaces.
5. Abatron WoodEpox (Professional-Grade/Outdoor Use)
- Top Features: A two-part epoxy that resists mold, moisture, UV, and rot. Ships with tools, allows shaping like wood, and doesn’t shrink or crack.
- Considerations: Pricier and requires mixing; longer cure time.
- Ideal For: Heavy-duty structural restorations, especially outdoors or on historic pieces.
6. Permatex® 5-Minute Epoxy Gel (Fast & Strong Patching)
- Why It’s Noteworthy: Quick-setting (5 min), high bond strength (~3000 PSI), water-resistant, clear finish, non-drip gel. Handy syringe format includes a blue dye indicator for proper mixing.
- User Insight: Woodworkers note that while great for quick gap-filling, its softer cure makes it less ideal for visible furniture finishes—best paired with longer-cure epoxies.
- Ideal For: Small quick-fill repairs or as a backing beneath other fillers.
Quick Comparison Table
| Use Case | Recommended Product |
|---|---|
| Small holes or furniture touch-ups | Elmer’s Color-Change, DAP |
| Furniture or trim needing stainable solution | Minwax Stainable |
| Outdoor furniture, decks, rot repair | Abatron WoodEpox |
| Fast structural gap filling | Permatex 5-Minute Epoxy |
FAQs
Can you stain or paint over wood filler?
Yes. Most fillers are paintable, but not all are stainable. For natural wood finishes, look for stainable wood filler (e.g., Minwax Stainable). Test on scrap wood first, since fillers sometimes absorb stain differently than real wood.
How do you prepare the crack before filling?
Clean out dust, dirt, or loose fibers with a brush or compressed air.
Lightly sand around the crack for better adhesion.
Ensure the wood is dry — fillers won’t bond well to damp wood.
Do wood fillers shrink or crack over time?
Some cheaper fillers shrink slightly as they dry. To avoid this:
Slightly overfill the crack, then sand flush.
Use a high-quality filler or epoxy for bigger gaps.
Is wood filler strong enough for structural repairs?
No. Regular filler is cosmetic only. For structural or load-bearing repairs, use epoxy or replace the damaged section of wood.
How long does wood filler take to dry?
Latex/water-based fillers: 15–60 minutes.
Epoxy: 4–24 hours (depending on brand).
Always check manufacturer instructions before sanding or painting.